はじめに
この記事では、Jupyter Notebook/Labでipywidgetsのドロップダウンメニューを使用して画像を選択し表示する方法について解説します。ユーザーがドロップダウンから選択した画像をリアルタイムで表示する対話的なインターフェースの実装方法を紹介しています。
コード
解説
モジュールのインポートなど
Jupyter Labでインタラクティブな操作をするには、冒頭で「%matplotlib widget」と記述します。
Jupyter Notebookの場合は「%matplotlib notebook」になります。
別ウィンドウで所定のGUIを表示するには、「%matplotlib」と記述します。
バージョン
画像データの作成
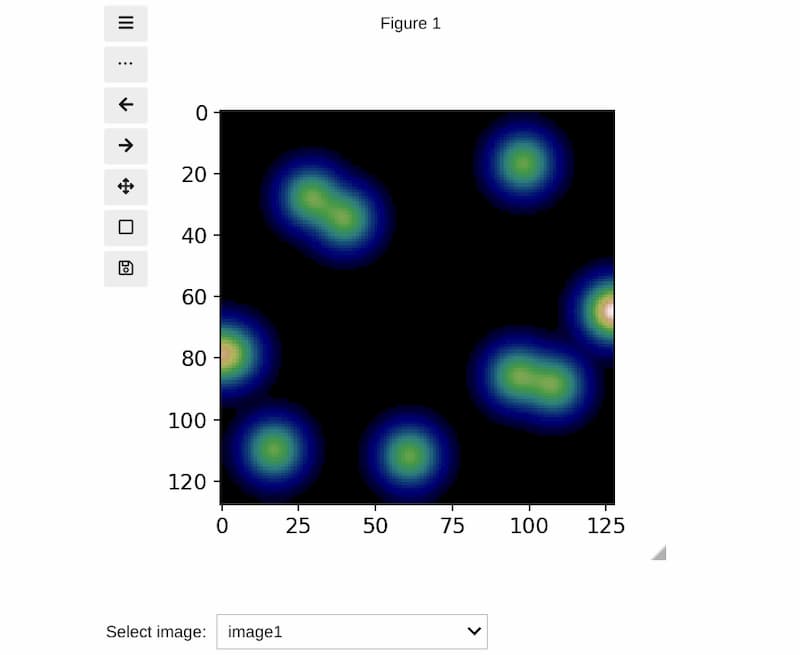
128 × 128のサイズの画像を作成し、その中に強度の高い領域を複数配置します。空のリストim_listに画像データをappendメソッドで追加することで、3つの画像を含むリストを生成します。
画像の表示
imshowで画像を表示します。
Dropdownの設定
optionsに[(‘image1’, 0), (‘image2’, 1), (‘image3’, 2)]のように設定すると、「image1」を選択したときに値「0」が返されます。valueパラメータは初期値を指定します。@interactデコレータを使用してipywidgetsを有効化します。
関数f(im_dd)はドロップダウンで選択肢を変更するたびに実行されます。
ドロップダウンから任意の画像を選択すると、ax.cla()で現在の画像を消去し、imshow関数で新しく選択した画像を表示します。
image2の場合
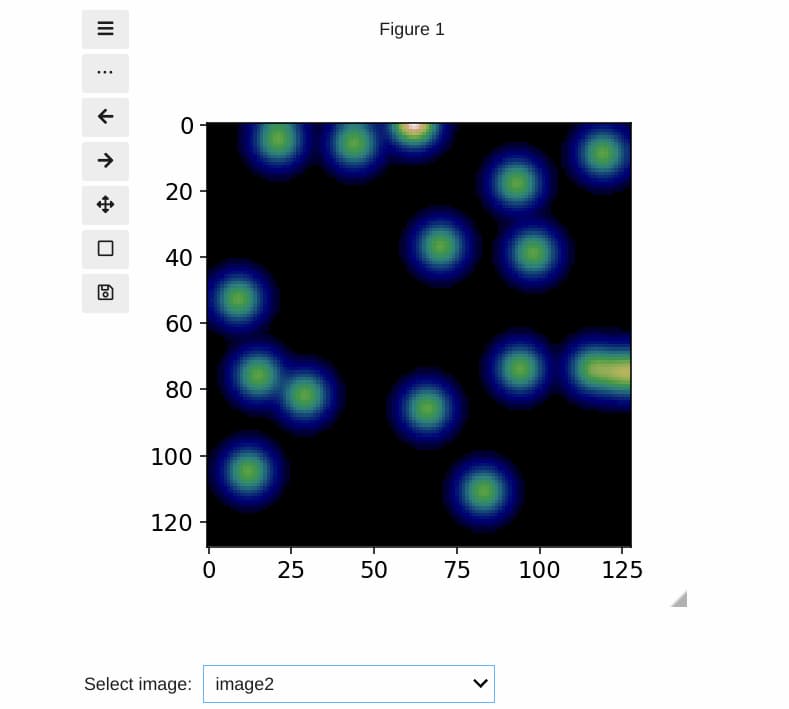
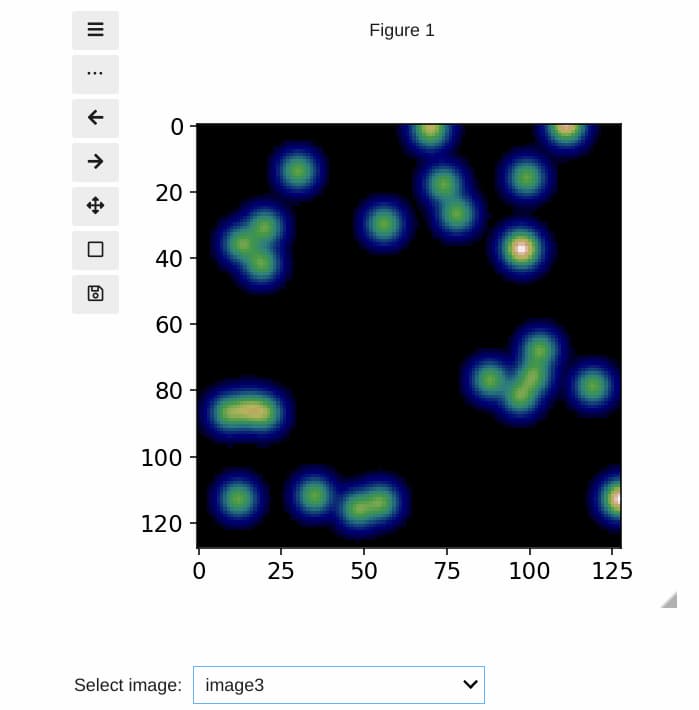
image3の場合
まとめ
ipywidgetsのDropdownウィジェットを使用することで、Jupyter環境でインタラクティブに画像を選択して表示することができます。この機能を活用することで、データ分析や教育現場でのプレゼンテーションをより直感的かつ効果的に行うことが可能になります。基本的な実装は簡単ですが、応用することでさまざまなインタラクティブアプリケーションの開発につながります。
参考


コメント